Follow the video and article below to set up your Ucam by scanning the QR code.
Step 1. Open Ucam App
Download the Ucam app in Apple Store (iOS) or Google Play (Android). Select Add New Camera to continue.

Step 2. Plugin the Camera
It will take a few seconds to activate the camera. Wait until you hear the voice prompt “Welcome to Ucam”. Then select I heard "Welcome to Ucam".
If you failed to hear the correct voice, press the reset button for approximately 10 seconds and try again.
Step 3. Connect to Wi-Fi
Make sure your phone is connected to a 2.4GHz Wi-Fi. Enter the Wi-Fi password information to proceed.
You will encounter camera connection failure if you are connected with a 5GHz Wi-Fi. Please make sure you are connected with the correct Wi-Fi network.
Step 4. Scan QR Code
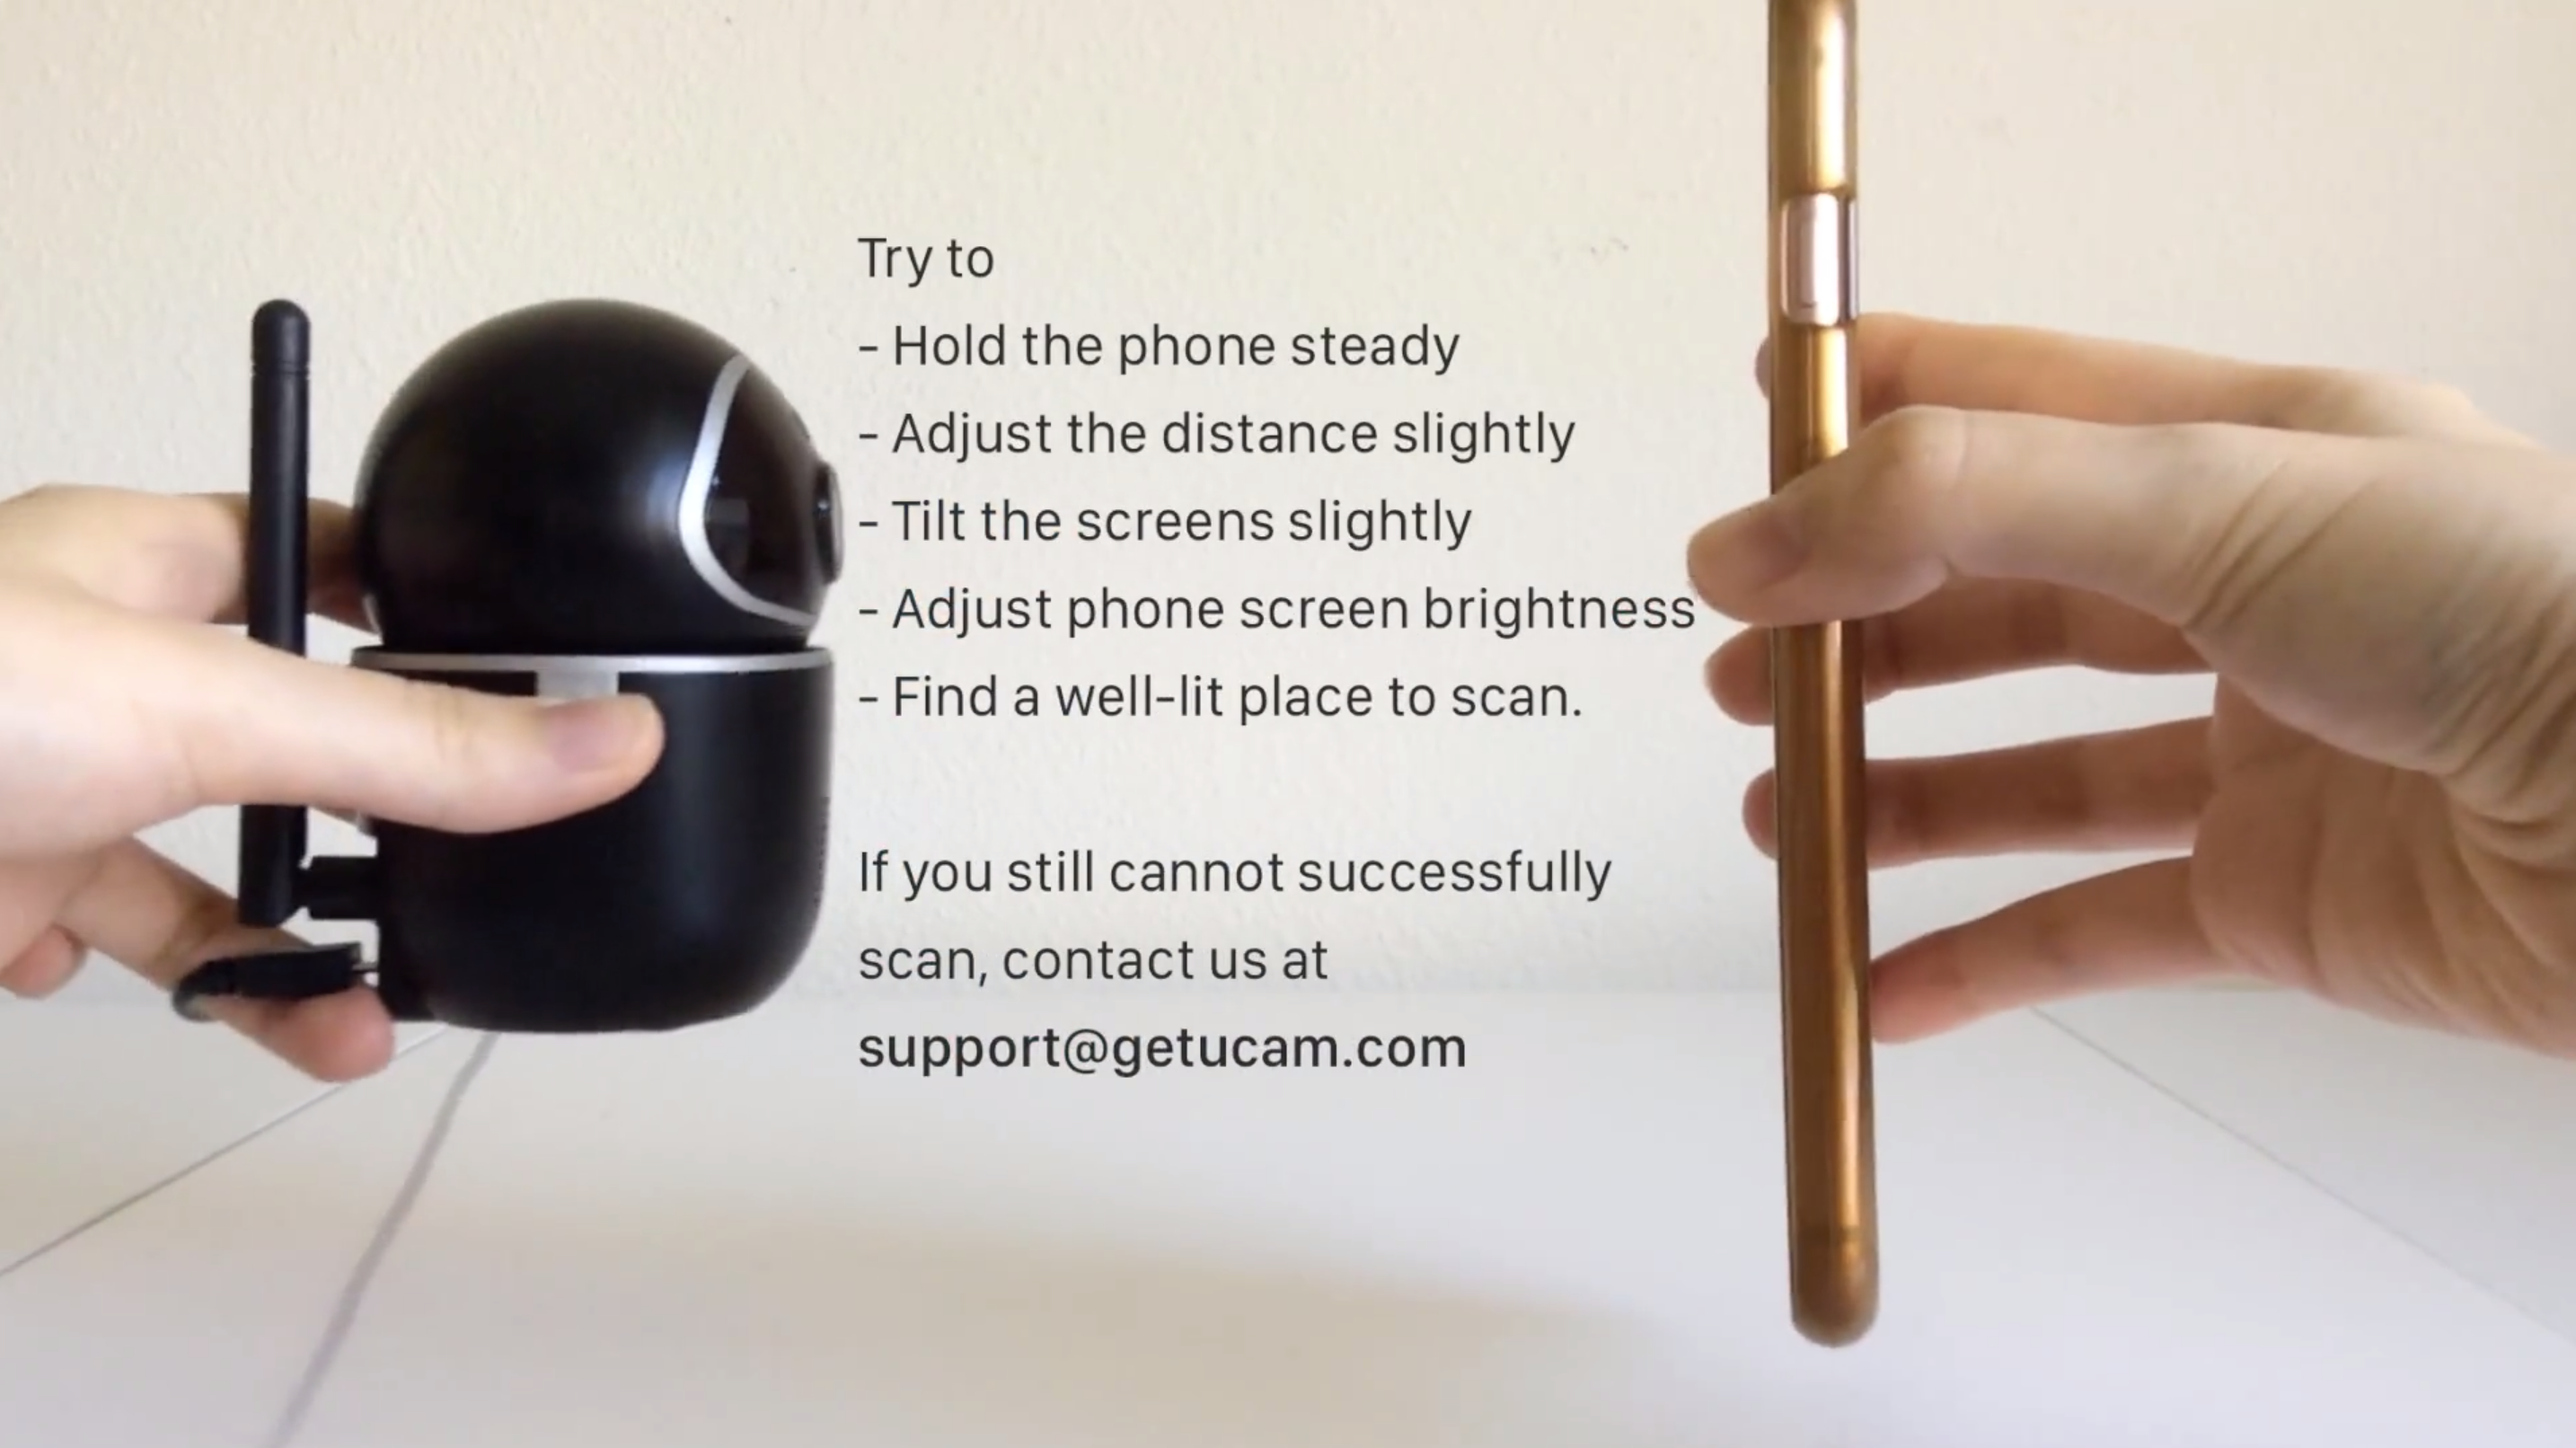
Use your camera lens to scan the QR code, until you hear a beeping sound. If you cannot scan successfully, please try to
- Find a well-lit place to scan
- Hold the phone steady
- Adjust the distance slightly
- Tilt the screens slightly
- Adjust phone screen brightness
If you still cannot successfully scan, contact us at support@getucam.com.
Waiting to Connect
It may take less than 60 seconds to find and connect the camera. Please wait patiently.
If you stopped the process or encountered any problem halfway. Please reset the camera before you add it again.
Step 5. Name Your Camera
Give your camera a nickname and then click Finish Setup. You can always change it in Camera Settings. The person who you share the camera with will be able to see the camera name.
Turn on Privacy Mode
At the last step, just give Ucam a few more seconds to
- create Blockchain Identity
- generate Private Key
- prepare to encrypt
- turn on Privacy Mode
to give you peace of mind about your camera information.
You Are All Set!
You can add the camera using two more methods:
If you need any help, please contact us at support@getucam.com.